You can import both inventory items and customers into Open Source Point of Sale.
Importing Items
Click on the Items tab in the header.

Then click on the Excel Import button.

This will launch the Import items from Excel sheet modal form.
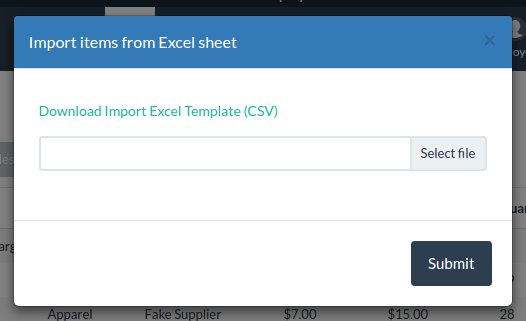
Start by downloading the template if you haven't already. Click on the "Download Import Excel Template (CSV)" link on the form.
When you do this, a file will be downloaded to your computer. Open it in Excel or another spreadsheet program like LibreOffice Calc.

You can use this template as a guide when creating your import file.
The following rows must be filled out:
- Item Name
- Category
- Cost Price
- Unit Price
- Reorder Level
- location1
- quantity1
By default, you have one location: Location 1. If you have more than one location, add more columns to the CSV file. For example: location2, quantity2, location3, quantity3, etc. You can see which location numbers you have in the Store Config under Stock.
Two of the columns need some further explanation: "Allow Alt Description" and "Item has Serial Number". They're represented as checkboxes in the system. Put a "y" in the cell if you want the box to be checked, and leave it blank if you don't.
You can set up Custom Fields, such as Author, in the Store Config section. If you do, you can enter your authors in the custom1 field. You can have up to 10 custom fields. Note: keep these values 25 characters or less.
Save the file as a CSV file and then go back to Open Source Point of Sale.
Click the Select file button on the Import Items from Excel sheet form. Find the file you just saved and open it.
Finally, click the Submit button to import your items into OSPOS.
If you don't see any error messages, your import was successful. Reload the page to see your items.
Importing Customers
Importing customers is very similar to importing items.
Start by clicking on the Customers tab in the header.

Then click on the Excel Import button.
This will launch the Import customers from Excel sheet modal form.
Click the "Download Import Excel Template (CSV)" link to download the template file.
Open the template file in Excel or another spreadsheet program, and use it as a guide while creating your import file.
The only rows that are required are "First Name", "Last Name", and "Gender". You can leave the rest blank if you want.
For Gender, male is "1" and female is "0".
Taxable is a checkbox in the system, so put a "y" in the cell if you want it checked and leave it blank if you don't.
Save your file as a CSV file when you're done with it, and then go back to OSPOS.
Click the Select file button on the Import customers from Excel sheet form. Find your file, and open it.
You should see your file in the form. Click the Submit button to import your customers.
If you didn't get any error messages, you're import was successful. Reload the page to see your customers.